Epson External 12/18 Uživatelská příručka
Procházejte online nebo si stáhněte Uživatelská příručka pro Datové projektory Epson External 12/18. Epson External 12/18 User`s guide Uživatelská příručka
- Strana / 76
- Tabulka s obsahem
- ŘEŠENÍ PROBLÉMŮ
- KNIHY
- User’s Guide 1
- Contents 3
- Introduction 4
- Press here to open 5
- MovieMate Controls 6
- Remote control 7
- Setting Up the Remote Control 8
- Using this guide 9
- Quick Start 10
- Setting Up MovieMate 11
- Disc Playback 12
- Using the control 13
- Using the remote 13
- Stopping playback 14
- Turning off the power 14
- Reverse searching/forward 15
- Pausing playback 15
- Replaying a scene 16
- Skipping 16
- Advancing by frame 16
- Advanced 18
- Operations 18
- Using DVD menus 19
- Using PBC (playback control) 20
- Advanced Operations 21
- To repeat playback 22
- [Function] position 24
- Status bar 24
- Menu bar 24
- Do one of the following: 26
- • Press 26
- Canceling repeat play 28
- To cancel repeat, press 28
- Press when stopped 30
- Changing the audio language 31
- Changing the subtitle display 32
- Changing the camera angle 32
- Using the menu bar 33
- Locking the tray 35
- Using the S-Video connection 37
- Listening with headphones 38
- Selecting the Sound Mode 40
- Adjusting high-pitched tones 40
- Fine-Tuning Your 43
- MovieMate 43
- Settings menu options 44
- Audio settings menu 45
- Other settings menu 45
- Language codes 46
- Country (area) code list 47
- Picture Quality Menu 48
- Picture Quality menu settings 49
- Video Information Menu 50
- Troubleshooting 52
- : lit :flashing : off 53
- : lit : flashing : off 53
- Solving problems 54
- Where to get help 56
- Maintenance 57
- Specifications 60
- Specifications / Compliant 61
- Resolutions 61
- Composite Video/S-Video 62
- Safety Instructions 63
- Use and Storage 66
- When moving this unit 67
- Transportation cautions 67
- Copyright 67
- About Discs 68
- Glossary 70
- Epson America, Inc. Limited 71
- Warranty 71
- Epson MovieMate 25 76
Shrnutí obsahu
Epson®MovieMate™25User’s Guide
10Quick StartPlaying DVDsYou can enjoy your DVDs on the big screen by following these four easy steps.Position MovieMate in front of the screen or a b
11Quick Start1Place MovieMate in a position to project the best size image onto the screen.The further you place MovieMate away from the screen, the l
121Press to open the disc tray.A beep sounds and the power comes on.You can also press on the remote control. 2Place the disc in the disc tray wit
13Adjust the image and sound as follows:Adjusting the picture and soundAdjusting the size of the projected image (Zoom ring)Setting the focus(Focus ri
14Press . To resume playback, press .1Remove the disc from the disc tray.2Press .If the lamp was on, the lamp turns off and the Image Off light flashe
15Quick StartFrom here on, operations are explained primarily using the buttons on the remote control. If the same button is available on the MovieMat
16Press during playback.MovieMate replays the previous 10 seconds.Press or during playback.Press once to return to the start of the chapter or
17Quick Start1Press at the point where you want to begin slow motion playback. The image pauses.2Press .• There are 5 levels of playback speed that
18Advanced OperationsPress .When you press the brightness of the display window and the indi-cators on the main unit change as shown below. DIMMER A
19Advanced OperationsSome have one or both of the following types of menus.Top menu: When multiple titles (video and audio) have been recorded, the
All rights reserved. No part of this publication may be reproduced, stored in a retrieval system, or transmitted in any form or by any means, electron
20When you insert a Video CD with PBC (playback control) enabled, a menu screen is displayed. You can select the scene or information you wish to see
21Advanced Operations1When playing a disc that contains both MP3/WMA files and JPEG files, you see the following kind of group/track (file) name list.
22To repeat playback1Press during playback or when stopped. Each time you press , the repeat mode changes as shown in the fol-lowing table.2Press .
23Advanced OperationsSpecifications of files that can be playedTo play a CD-R or CD-RW containing MP3/WMA or JPEG files with this unit, the contents o
24During playback, select the chapter or track number you wish to play by pressing the numeric buttons.For details on using the numeric buttons, see p
25Advanced Operations5Press .6Press once to cancel the menu bar.Entering the timeTo play a disc from 0 hours, 23 minutes, and 45 seconds, for exampl
26You can set the playback range (start point to end point) from the menu bar dur-ing playback.1Press twice during playback. The following menu bar
27Advanced OperationsDepending on the type of disc, you can loop playback within a range of titles, chapters, or tracks, as in the following table.Pre
28Repeat modes available during program play and random playCanceling repeat play• Press repeatedly until “ ” is displayed on the screen.• Turn off
29Advanced OperationsYou can set titles, chapters, and tracks to play in the order of your preference.1Press when stopped.Each time you press , the
3Quick StartAdvanced OperationsAppendixIntroduction... 4Registration and warran
30You can choose to play titles or chapters/tracks at random.The playback order always changes when using random play.1Press when stopped.Whenever yo
31Advanced OperationsWhen a disc has been recorded with multiple audio signals or languages, you can switch to the audio signal or language of your pr
32You can choose whether or not to display subtitles for discs that have been recorded with subtitles. When a disc has been recorded with multiple lan
33Advanced Operations1Press twice during playback.The following status bar and menu bar are projected.2Press until the pointer reaches the item yo
34Auto standby: When playback has finished or has been stopped, or an opera-tion has not been performed for about 3 minutes, the power switches off au
35Advanced OperationsFor the best image quality, MovieMate uses the Progressive video display mode. You can change to the Interlaced mode if necessary
36You can connect your MovieMate to devices that have a video output port, such as:- VCRs - Game consoles- Video camerasIf the video equipment you ar
37Advanced OperationsUsing the S-Video connection1Remove the lens cover if it is in place.2Turn on the MovieMate power switch, then press .3Press .“V
38Connect your headphones as shown below.Using External Audio Equipment• When listening with headphones, make sure the volume is not too high. You can
39Advanced OperationsYou can connect to AV amplifiers and equipment capable of making digital recordings when they are equipped with a digital audio i
4Your Epson® MovieMate™ 25 is a portable, lightweight home cinema system that delivers high-quality, big-screen enter-tainment anywhere you want. In l
40You can obtain enhanced audio from the speakers by activating the JVC origi-nal sound system function. Press .Each time you press , the display win
41Advanced OperationsThe default audio setting plays DVDs at a higher volume than other discs. You can adjust this default setting if necessary.Press
42You can adjust the audio input level of equipment connected to the Audio port.1 Press and switch to the external video mode.2Press and hold for
43Fine-Tuning Your MovieMateYou can adjust the MovieMate settings to suit your viewing environment.The Settings menu allows you to change the language
445Press to select the item, then press .Boldface indicates the default.Language settings menuVideo settings menuTo return to the previous menu lev
45Audio settings menuOther settings menuItem SettingsDigital Audio OutputSelect the output signal according to the equipment connected to the Optical
46Code Language Code Language Code Language Code LanguageAA Afar GD Scots Gaelic MK Macedonian SN ShonaAB Abkhazian GL Galician ML Malayalam SO Somali
47AD Andorra ET Ethiopia LC Saint Lucia SD SudanAE United Arab Emirates FI Finland LI Liechtenstein SE SwedenAF Afghanistan FJ Fiji LK Sri Lanka SG Si
48You can adjust the brightness, contrast, and other values of the projected image.1Press during projection.The following menu is displayed.2 Press
49Setting Item Setting ContentsBrightness Adjusts the image brightness.Contrast Adjusts the difference between light and shadow in the image.Color Sat
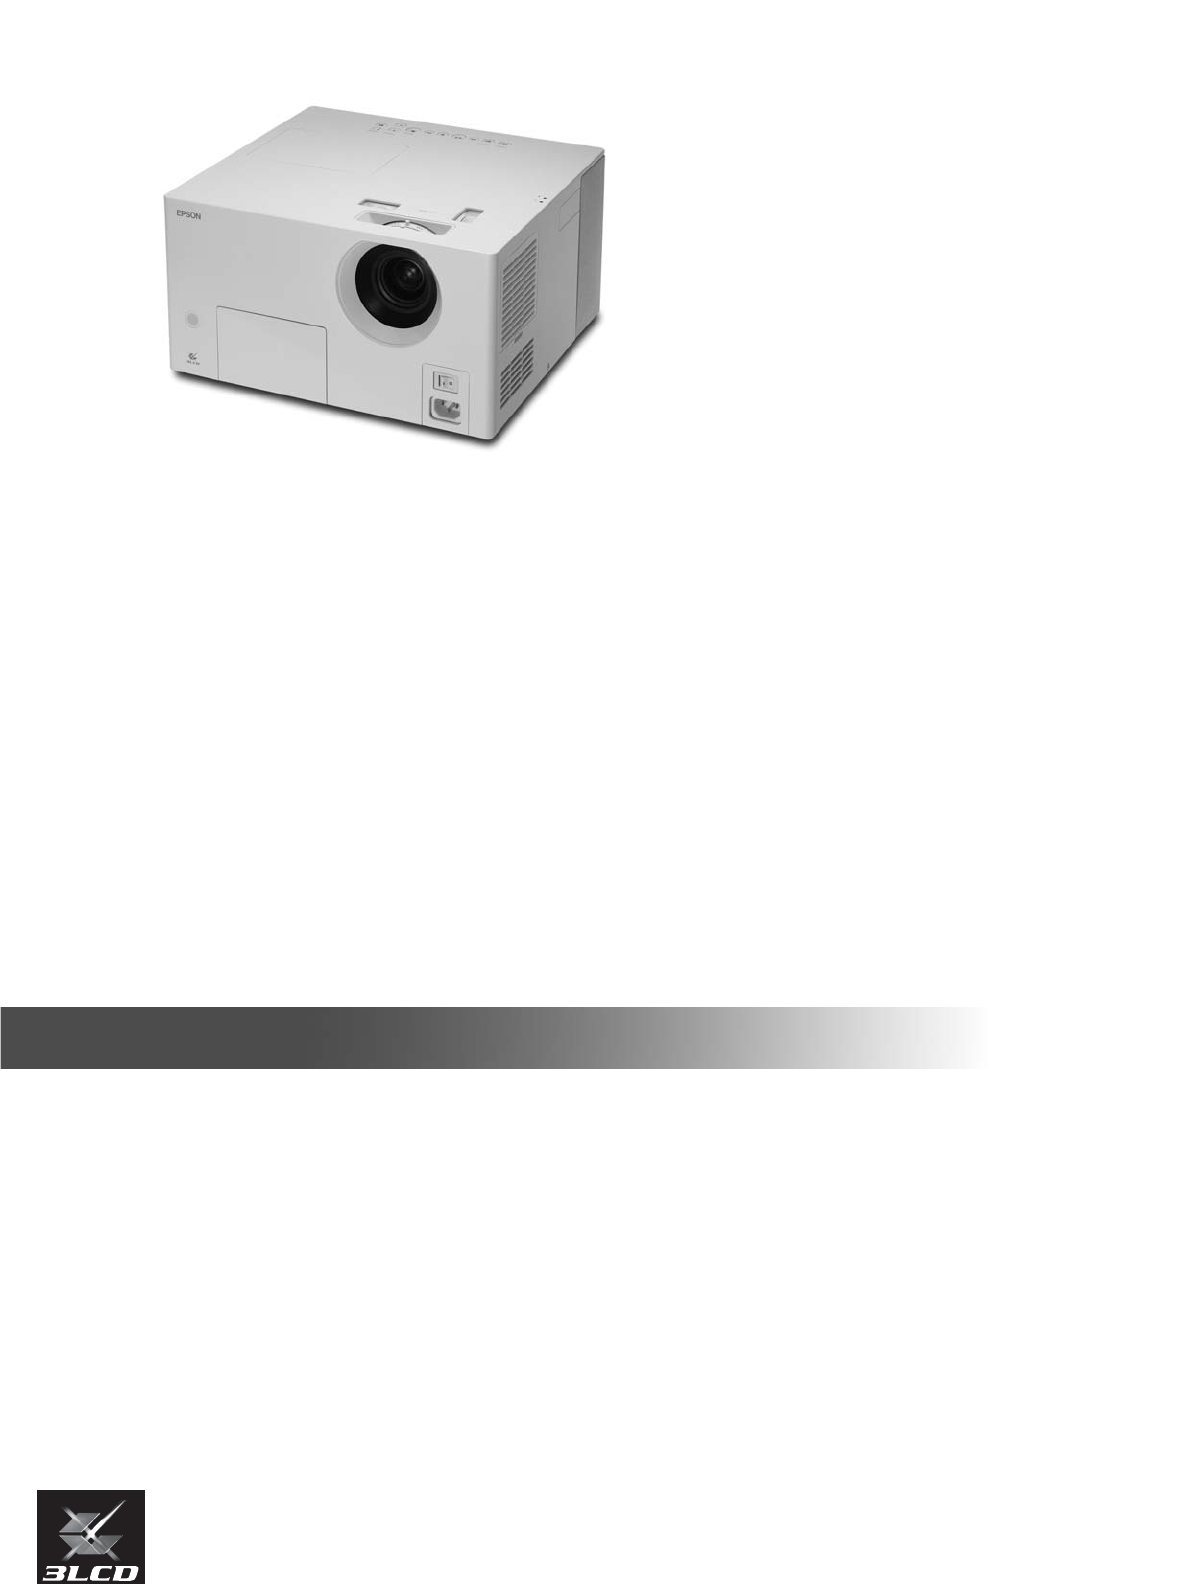
5PartsFrontS-Video input port Remote control receiverAudio input port Video input port Optical audio-out port Lens cover Power inletMain power switch
50You can view status information and select “Video Signal,” “High Altitude Mode,” and “Lamp-Hours Reset.”1Press during projection.The following Inf
51Setting Item Setting ContentsInformationDisplays the current status.Lamp Hours: Accumulated usage time of the lamp. 0H is displayed for 0-10 hours.
52Troubleshooting and MaintenanceYou can check MovieMate’s status using the indicators on the top panel. Check the following table and follow the step
53When flashes green / orange alternatelyError: flashing green/orange alternately: lit :flashing : offInternal errorTurn the main power switch
54If MovieMate is not functioning normally, check the following notes before requesting repairs. If MovieMate fails to improve, contact Epson as descr
55Solving problems using external video equipmentThe remote control does not workIs the Function/Numerics toggle switch in the [1 2 3] (numerical inpu
56Epson provides technical assistance 24 hours a day at http://support.epson.com. Here you can access troubleshooting information, download product do
57Cleaning the air filterYou need to clean the air filter when dust builds up or you see the message “The projector is overheating. Make sure nothing
6MovieMate ControlsFocus ring Zoom ring Vertical lens shift dial Status display indicatorHorizontal lens shift dial Lamp cover Skip buttonsPower butto
60Specifications and NoticesRefer to the following tables and place MovieMate in a position which allows the best possible projection for your screen
61 Pixelworks DNXTM IC is installed in this unit.Specifications / Compliant ResolutionsProduct name Epson MovieMate 25Dimensions 13.4 in. wide x 7.1 i
62Composite Video/S-VideoSafetySignal ResolutionAspect ModeNormal WideTV (NTSC) 640 × 480640 × 480(4:3)854 × 480(16:9)TV (PAL, SECAM) 768 × 576640 × 4
63Read the following important information about your MovieMate.Important safety informationWarning:To reduce the risk of fire or electric shock, do n
64exposed to rain or moisture, does not operate nor-mally, or has been dropped.• Do not expose this unit to water or place objects con-taining liquids
65Particular care should be taken when the projector is mounted on the ceiling, as small pieces of glass may fall down when the lamp cover is removed.
66Take note of the following advice in order to prevent malfunction and damage.• Use and store this unit within the operating tem-perature range and s
67• Make sure the lens cover is securely in place.• Remove any discs and close the disc tray.• Hold the projector as shown in the following illustrati
68Readable disc typesThe following discs can be played.• You cannot play DVD videos if the disc region code does not correspond to the region code lab
69We: EPSON AMERICA, INC.Located at: 3840 Kilroy Airport WayMS: 3-13Long Beach, CA 90806Tel: 562-290-5254Declare under sole responsibility that the pr
7Remote controlRemote control light-emitting areaPower buttonFunction/numerics toggle switchDVD Tray Open/Close buttonAudio buttonsDVD video butonsPla
70JPEGA file format used for saving image files. Most photographs taken with digital cameras are saved in the JPEG format. MP3The abbreviated form of
71Basic Two-Year Warranty and 90-Day Lamp WarrantyWhat Is Covered: Epson America, Inc. (“Epson”) warrants to the original end user customer that the E
72FROM THE USE OR INABILITY TO USE THE EPSON PRODUCT, WHETHER RESULTING FROM BREACH OF WARRANTY OR ANY OTHER LEGAL THEORY. IF THE REMEDY ABOVE FAILS,
73AA.STBY (auto standby), 34A-B repeat, 26Accessories, 4Air filter, 57 to 59Air vents, 5Angle, 32Aspect ratio, 55, 62, 70Audiochanging language, 31ext
74Menu bar, 33MovieMateadvanced operations, 18 to 42basic operations, 10 to 17cleaning, 57distance from screen, 11handling and storage, 66maintenance,
Epson MovieMate 25
81 Push in the tab and lift up the cover.2 Insert the batteries as shown.3 Close the battery cover.Setting Up the Remote ControlIf the remote control
9Getting More InformationNeed additional help? Take advantage of Epson’s automated support services 24 hours a day at http://support.epson.com. Use th
Související produkty a manuály pro Datové projektory Epson External 12/18
 (110 stránky)
(116 stránky)
(79 stránky)
(141 stránky)
(77 stránky)
(120 stránky)
(85 stránky)
(109 stránky)
(110 stránky)
(116 stránky)
(79 stránky)
(141 stránky)
(77 stránky)
(120 stránky)
(85 stránky)
(109 stránky)
© 2020, manymanuals.cz. Všechna práva vyhrazena. | 0.022 s |
 Manymanuals.com
 Manymanuals.de
 Manymanuals.fr
 Manymanuals.it
 Manymanuals.pl
 Manymanuals.cz
 Manymanuals.es
 Manymanuals-pt.com
Komentáře k této Příručce